Mounting Components
Many tests, regardless of framework or type, follow a similar format: Arrange, Act, and Assert. This pattern "Arrange, Act, Assert" was first coined in 2001 by Bill Wilke and is explained thoroughly in his blog post "3A - Arrange, Act, Assert".
When it comes to component testing, mounting your component is where we Arrange our component under test. It is analogous to visiting a page in an end-to-end test.
What is the Mount Function?
We ship a mount function for each front-end framework Cypress supports, which
is imported from the cypress package. It is responsible for rendering
components within Cypress's sandboxed iframe and handling and framework-specific
cleanup.
// React 16, 17
import { mount } from 'cypress/react'

// React 18
import { mount } from 'cypress/react18'
Using cy.mount() Anywhere
While you can use the mount function in your tests, we recommend using
cy.mount(), which is added as a
custom command in the
cypress/support/component.js file:
import { mount } from 'cypress/react'

Cypress.Commands.add('mount', mount)
This allows you to use cy.mount() in any component test without having to
import the framework-specific mount command.
You can customize cy.mount() to fit your needs. For instance, if you are using
providers or other global app-level setups in your React app, you can configure
them here. For more info, see the
Customizing cy.mount() guide for React.
Your First Component Test
Now that you have a component let's write a spec that mounts the component.
To get started, create a spec file in the same directory as the Stepper.jsx
component and name it Stepper.cy.jsx. Then paste the following into it:
import Stepper from './Stepper'

describe('<Stepper>', () => {
  it('mounts', () => {
    cy.mount(<Stepper />)
  })
})
Here, we have a single test that ensures that our component mounts.
Running the Test
Now it's time to see the test in action. Open up Cypress if it is not already running:
npx cypress open --component
The
--componentflag will launch us directly into component testing
And launch the browser of your choice. In the spec list, click on Stepper.cy.js and you will see the stepper component mounted in the test area.
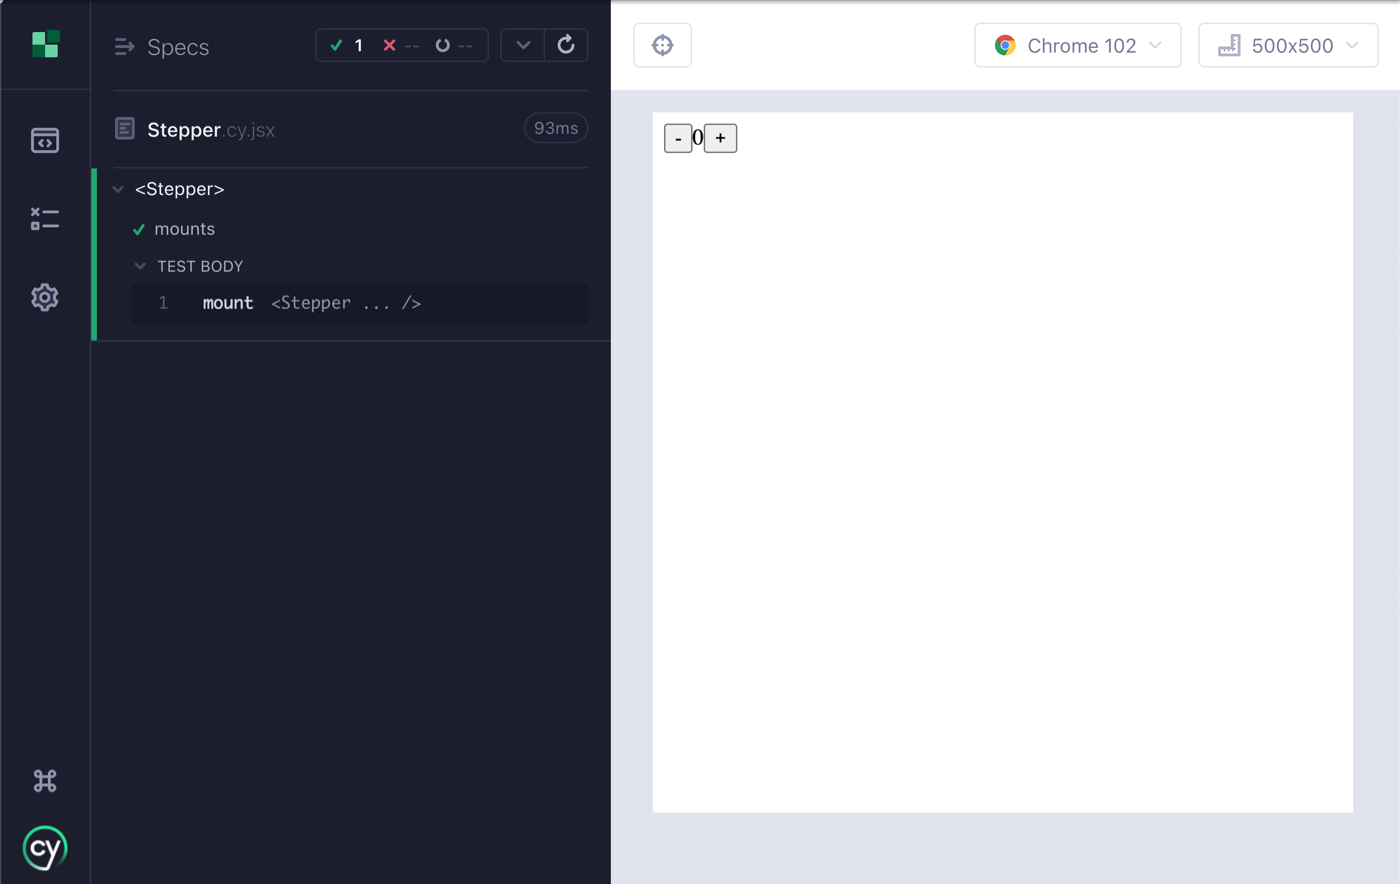
Stepper Mount Test
A basic test that mounts a component in its default state is an excellent way to start testing. Since Cypress renders your component in a real browser, you have a lot of advantages, such as seeing that the component renders as it should, interacting with the component in the test runner, and using the browser dev tools to inspect and debug both your tests and the component's code.
Feel free to play around with the Stepper component by interacting with the
increment and decrement buttons.
Cypress and Testing Library
While we don't use Testing Library in this guide, many people might wonder if it is possible to do so with Cypress, and the answer is yes!
Cypress loves the Testing Library project. We use Testing Library internally, and our philosophy aligns closely with Testing Library's ethos and approach to writing tests. We strongly endorse their best practices.
In particular, if you're looking for more resources to understand how we recommend you approach testing your components, look to:
For fans of
Testing Library,
you'll want to install @testing-library/cypress instead of the
@testing-library/react package.
npm i -D @testing-library/cypress
The setup instructions are the same for E2E and Component Testing. Within your component support file, import the custom commands.
// cypress/support/component.js
// cy.findBy* commands will now be available.
// This calls Cypress.Commands.add under the hood
import '@testing-library/cypress/add-commands'
For TypeScript users, types are packaged along with the Testing Library package. Refer to the latest setup instructions in the Testing Library docs.
Next Steps
Now that we have our component mounted, next we will learn how to write tests against it.